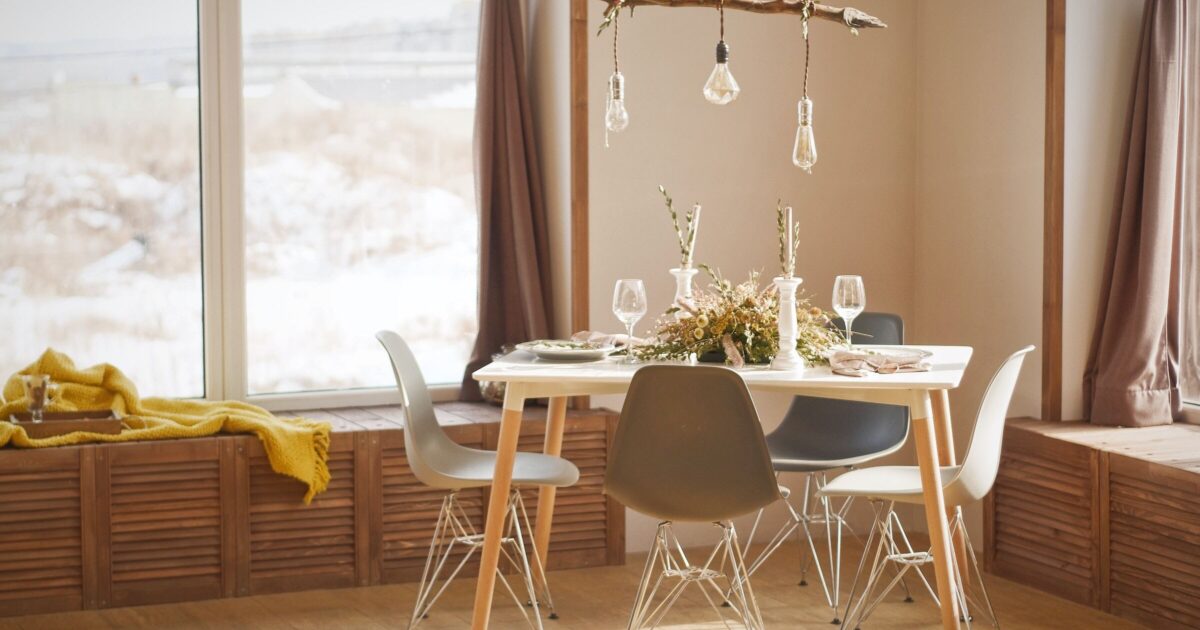
Breathe New Life Into Worn Dining Set with Wood Stain
Ready to give that tired dining set a fresh look? Before shopping for replacements, consider breathing new life into your existing set with a wood stain makeover. It’s easier than you might think to transform those worn-out pieces into stunning statement pieces with dye kits. With just a weekend, some basic supplies, and a little elbow grease, you can completely revamp your dining area on a budget. Let’s walk through the process of refinishing your table and chairs with this step-by-step. guide: Get ready to impress your dinner guests with a set that looks brand new – without the brand-new price tag!
Assessing Your Dining Set for Refinishing
Before diving into your makeover project, closely examine your dining set. Are the chairs and table structurally sound, or do they wobble? Check for loose joints, missing screws, or damaged wood. These issues should be addressed before staining. Next, examine the current finish. Is it just worn, or are there deep scratches and gouges?
Light sanding can smooth out minor imperfections, but more serious damage may require wood filler. Finally, consider the wood type. Some woods, like oak or maple, take stain beautifully, while others, like pine, can be trickier. Knowing your wood will help you choose the right stain and application method for stunning results.
Choosing the Right Wood Stain Kit
The perfect wood stain kit is crucial when breathing new life into your worn dining table and chairs. Look for dye kits that include everything you need: stain, applicator, and protective finish. Consider the existing wood tone and your desired result – do you want to go darker or maintain a similar shade? Oil-based stains offer deep penetration and rich color, while water-based options are easier to clean up and dry faster.
Don’t forget to check the coverage area to ensure you have enough for all your chairs and table. Pro tip: Choose a gel stain if you’re new to staining—it’s less messy and easier to control. Remember, the right kit will make your DIY dining set makeover a breeze!
Steps to Refinishing Your Dining Set with Stain
Ready to revive that tired dining set? Let’s get started! First, clean your table and chairs well with a mild soap solution and let them dry completely. Next, sand the surface lightly to remove any old finish and create a smooth base. Wipe away the dust with a tack cloth.
Now comes the fun part – applying the stain! Use a foam brush or lint-free cloth to apply the stain in the direction of the wood grain. For a deeper color, add more coats, waiting between each for proper drying. Once you’re happy with the color, seal the deal with a clear protective finish. Voila! Your dining chairs and table are transformed and ready to impress at your next dinner party.
Protecting Your Newly Stained Furniture
Congratulations on giving your dining set a fresh new look! Now, let’s make sure that beautiful stain job lasts. To protect your handiwork, apply a clear topcoat sealer. This will guard against scratches, spills, and everyday wear and tear. Choose a water-based polyurethane for easy application and quick drying time. Apply 2-3 thin coats, letting each dry completely before the next.
Once sealed, avoid placing hot dishes directly on the surface—use trivets or placemats instead. For cleaning, use a soft, damp cloth and avoid harsh chemicals. With proper care, your newly stained dining table and chairs will continue to shine for years, making every mealtime a little more special.
Conclusion
So there you have it – a simple way to breathe new life into your tired dining set. You’ve transformed dull into dazzling with just a little elbow grease and a wood stain kit. Your newly refreshed table and chairs will be the talk of your next dinner party. And the best part? You did it yourself, saving a ton of cash in the process. So go ahead, step back, and admire your handiwork. You’ve earned it! Now, all that’s left is to plan that dinner party to show off your DIY skills. Who knows, your friends might even be inspired to tackle their own furniture makeover projects. Happy staining!
Keep an eye for more latest news & updates on Glamour UER!


